How to Replace a Fire Alarm
Our products are designed to protect you and your family, and you can keep your household safe through installing the right home life safety products for your home. This blog will explore how and when to replace your smoke and heat alarms, how to install a new fire detection system and some useful FAQs.
Carrying out a regular test on your smoke alarms and overall fire alarm system sensors is a vital part of ensuring your home is protected. Alarms
should be tested monthly to ensure your home life safety system is working correctly and nothing needs replacing. In 2017, fires in homes where a fire alarm was not present accounted for 27% (8,100) of all dwelling fires. This highlights the importance of having working smoke and heat alarms for protecting your home.
When replacing an old smoke or heat alarm with a new one, you must ensure that you are installing the correct replacement. We would suggest following British Standard recommendations, which covers specific guidance for fire alarm systems in all domestic properties. It highlights the type of smoke or heat alarms that should be installed and the areas of your property to protect.
Which type of alarms should I install around my home?
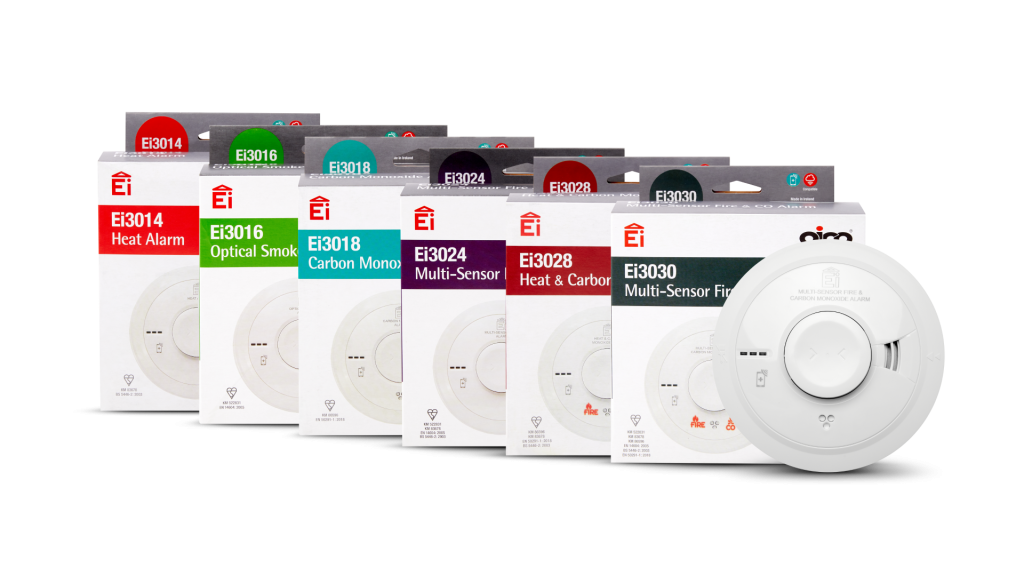
Unfortunately, fires can start and spread to many areas of the home. That’s why it’s so important to make sure you’ve got the right fire safety equipment installed around the property, paying attention to getting the right type for the right location. These are the best type of heat and smoke alarms to install for different areas of the home:
- Hallways – Optical Smoke
- Landings – Optical Smoke
- Living Room – Optical Smoke
- Kitchen – Heat
- Bedrooms – Optical Smoke
- Dining Room – Optical Smoke
- Loft – Multi-Sensor Fire
- Garages – Heat
- Bathrooms – Alarms should not be installed
Carbon Monoxide (CO) is another risk to be aware of – you can’t see it, smell it or taste it, and the best way to stay protected is by fitting a Carbon Monoxide alarm. The British Standard states that Carbon Monoxide alarms should be fitted in:
- Rooms that have any fuel burning appliances – such as an open fire, gas cooker or boiler
- Any room that has a flue running through it
Replacing your fire alarms
Firstly, you will need to ensure you have purchased the correct replacement alarm – there are a lot of different types of fire alarms out there! You can do this by visiting our handy Product Selector tool. There are a range of battery powered and hard wired smoke and heat alarms available, but if you’re not sure which alarm is right for you, get in touch with our knowledgeable Technical Team, who are always happy to help.
This step-by-step guide will teach you how to replace and remove the existing alarm heads in your property.
- Turn the mains power to the alarms off in the property and ensure the green indicator light on the alarm is off.
- Locate the flattened ‘T’ shaped slot on the side of the alarm, there will be a sticker and arrow pointing towards it saying, ‘insert screwdriver to remove’. If you can’t do this, follow the link below to our how-to-video.

- Insert a small flat headed screwdriver into the slot, and at the same time, slide the head of the alarm away from the screwdriver. You may have to twist away from the plate slightly to disconnect the unit.
- The old alarm will then come down in your hand.
- Now to connect the new alarm, align the new unit with the mounting plate and slide it into place. You should hear a slight clicking sound when it is in place.
- Turn the power back on from the mains and make sure the green indicator light on the alarm is on.
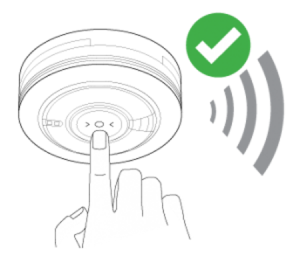
- Now test the alarm by pressing and holding the test button on the front of the unit. The unit should make an alarm sound.
Can you replace a fire alarm yourself?
Yes, you can replace your fire alarm yourself if your existing alarm has an easi-fit base, which means there is no need to remove or re-wire the baseplate. Replacing fire alarms is an easy process that is safe to carry out by yourself.
How do you know when to replace a fire alarm?
The majority of our alarms have a 10-year life, after which they should be replaced to ensure your home has the most effective protection.
The alarms have a date-code label on the side of them that shows the manufacture date and the recommended replacement date.

The four-digit code shows you the year and week that the alarm was made. The first two digits relate to the year and the second two digits relate to the week.
If your alarm is coming up to its replacement date, a new alarm should be installed as quickly as possible.
The first step is to find out the model number of the alarm that you have installed. You can then find the details of your nearest Stockist, who will be able to recommend products for your needs and supply a suitable replacement alarm.
If any of the alarms in your property are from the Ei140RC Series, the alarm may emit a single regular beep which indicates the alarm has a low battery. However, as a general rule of thumb, it is recommended that you change the battery in your fire alarm every year.
How do you change the battery of a fire alarm?
- Turn off the mains power to the alarm. The green LED light on the alarm should go out.
- Insert a flat headed screwdriver into the removal slot of the alarm. This is marked with an arrow.
- Slide the alarm off its mounting plate. You may need to twist or push slightly to remove the device. Once it’s off, you should be able to see the battery in the back.
- Replace the battery in the back of the device with a new 9V Alkaline battery – we recommend Duracell MN 1604 or Energizer 522 batteries. Take care with the battery clip and wires as damage to these will result in constant beeps, meaning that the whole fire alarm will need to be replaced.
- Slide the device back onto its base.
- Turn the power back on. The green light on the alarm should come back on.
- Finally, test the alarm to ensure the unit is working correctly.
How do you test a fire alarm system?
It’s a good idea to regularly test your smoke and heat alarms, to ensure parts don’t need to be replaced and that you have a good connection to the sensor. After all, the purpose of your alarm is to alert you to any potential danger, so you need to make sure everything is working correctly.
Direct test for fire alarms
- Check that the green light on the alarm is on.
- Press and hold the ‘Test’ button for 10 seconds.
- The alarm will beep loudly, so that you know the alarm is functioning.
- If you have other alarms in the building, they will most likely be linked together as part of a safety system. This means that if one alarm sounds, it will send a signal to trigger the other alarms in the property – so you may be able to hear them in the background.
- Finally, repeat the above steps on all the other alarms in the property.
Test a fire alarm using a control switch
- Press the ‘Test’ button on the alarm controller.
- The alarm will emit a loud beep, so that you know the alarm is functioning.
- If you have more than one alarm in the property and they are interconnected, this will also trigger all the other alarms in the property.
- If you are using an Ei450 RadioLINK Alarm Controller this will continue for as long as you hold down the ‘Test’ button.
- If you are using a Ei1529RC Hard Wired Alarm Control Switch you will need to flick the ‘Test’ switch off to finish the test.
Do I need an electrician to replace my fire alarms?
If you are not comfortable replacing your smoke or heat alarms, or if your alarm’s mounting plate needs removing or rewiring, you will need to use an Aico Expert Installer or your local electrician to ensure the process is completed safely with the correct electrical work.
All our Expert Installers have been trained by Aico to ensure they have all the information they need to correctly install domestic Fire, Smoke and Carbon Monoxide Alarm Systems.
You can request a quote from our Expert Installers through adding products to your basket and sending this through to the Aico-approved installers in your area. Visit our product page to start.
For any further information please visit our homeowner website or contact our expert team on 01691 664100.